Use Lucky Orange with Shopify: Set Chat Invites to proactively answer checkout questions
Chat Invites let you proactively invite someone to Chat with you before they can leave the site. While this can be helpful when used before someone checks out to anticipate their hesitations, it can also be used to approach visitors who started to checkout but ultimately left before completing it.
Shopify checkout Events include:
- Checkout Started
- Checkout Address Info Submitted
- Checkout Shipping Info Submitted
- Payment Information Submitted
- Checkout Contact Info Submitted
- Ordered
These are just some of the Shopify-specific Events that are available to Shopify users. Due to Shopify’s checkout page policy, we can’t show Session Recording or Dynamic Heatmaps of interactions on the checkout page. While you won’t be able to use a Chat Invite on the checkout page itself, you can use the Shopify checkout Events, listed above, to trigger the invites.
Note: Shopify Plus merchants can access checkout data automatically once Lucky Orange is installed. Click here to learn more. However, communication features including Surveys, Chat Invites and Announcements can't be launched on checkout.
Want a step-by-step guide to setting up Chat Invites? Click here to learn more.
To run a Chat Invite, you need to complete the following. For this help document, we will be focusing on the Chat Invite setup, triggers and timing.
- Set up Chat: You need to have Chat up and running on your website before you can use Chat Invites. Click here to learn how to set up Chat and customize your Chat through the Chat Launcher.
- Setup: Customize what image/icons is shown to visitors, the Chat Invite Message and customized settings including whether the full message is deployed in the Chat bubble and if the invite is hidden automatically after 30 seconds
- Triggers: This determines who will see the Chat Invites in addition to where on your website and when it will be shown during the visitor’s journey.
- Timing: You can use Timing settings to limit when the Chat Invite will trigger based on your team’s availability. This will determine if it always shows regardless of whether a team member is available or if it only triggers during your designated office hours.
- Review: Look the Chat Invite over before launching it on your Shopify store
Chat Invites Setup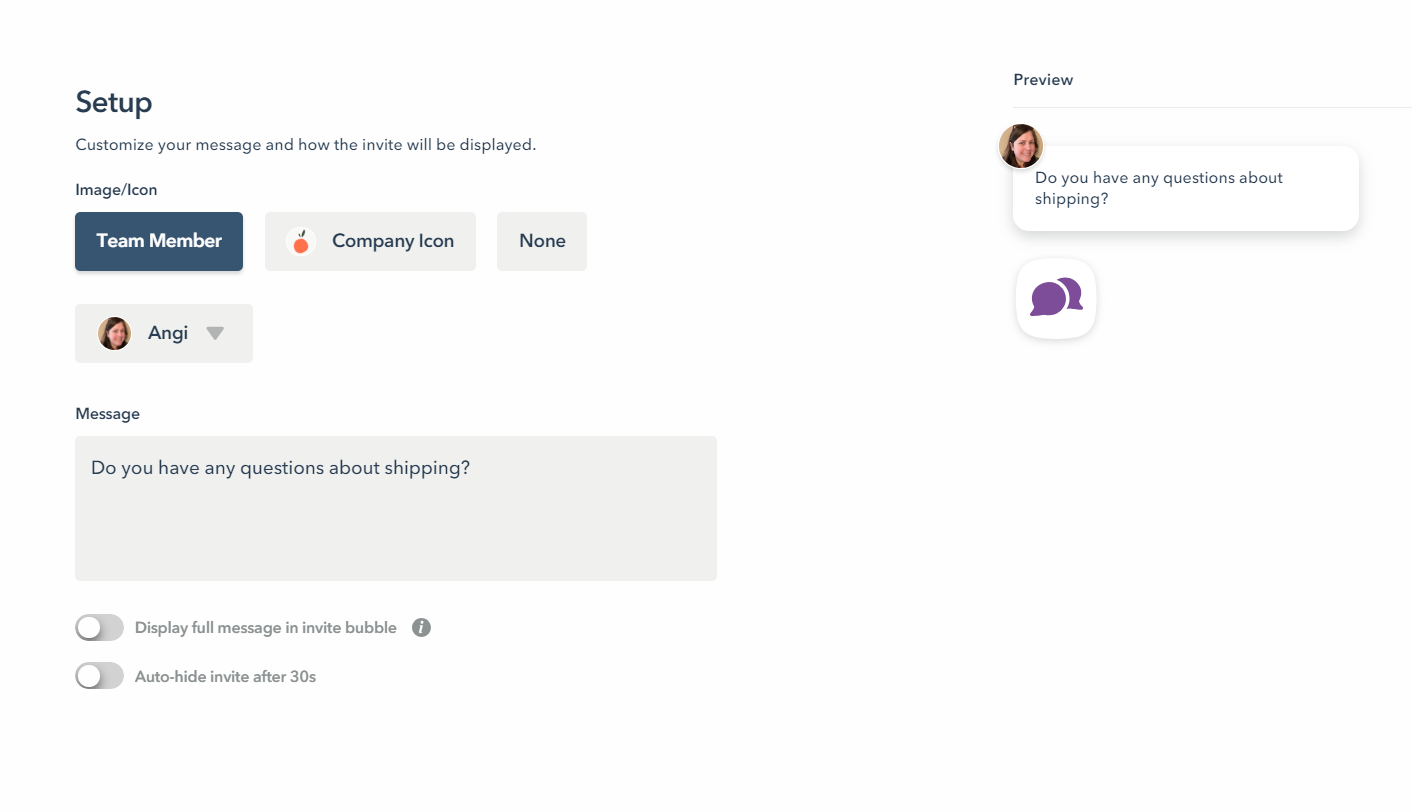
Note: As a reminder, you must have Chat activated on your Shopify store to use Chat Invites.
The basic Chat Invites setup is simple:
- Select the image/icon you want to show with the Chat Invite. This will indicate who it’s from. You can select from:
- Team member: You’ll be able to select the team member from a drop-down. We recommend that the team member upload a profile image of their headshot.
- Company icon: This will display the Company Icon set in Chat Settings: Appearance. You can also upload one if selected in Chat Invites.
- None: If you would prefer no image or icon, select none.
- Add your Chat Invite message. To maximize your Chat Invite, we recommend coordinating this message with your triggers. For example, if you are specifically targeting people who started to checkout but stopped before selecting a shipping rate, invite them to ask you a shipping-related question.
- Customize how it displays, including:
- Does it display the full message in the Chat bubble?
- If so, click the toggle next to “Display full message in invite bubble.” It should display in blue if activated.
- If you want a truncated message, move on. It should display in gray if not activated.
- Does it hide the invite automatically after 30 seconds? This means that once it’s triggered to the visitor, it will automatically hide after 30 seconds of inactivity. It won’t show again to the visitor.
- If yes, click the toggle next to, "Auto-hide invite after 30s." It should display in blue if activated.
- If you want to show the Chat Invite until the visitor leaves the site or dismisses it, move on. It should display in gray if not activated.
- Does it display the full message in the Chat bubble?
Triggers

For example, someone could have started to checkout, completed all the necessary information but stopped before submitting. You could use a Chat Invite to target someone who left the checkout process and returned to your store.
Here are recommended triggers to show a Chat Invite to people who started to checkout, completed all of the necessary information but stopped before submitting the order. This can help you understand possible reasons why they would go through the process of checking out but ultimately not submit it.
These triggers are located under Advanced.
Rule #1: Event “Payment Information Submitted” - Any property - Occurred - +1x - within 7 days
This is specifically focusing on the last step of the checkout process - the payment information. If the payment information has been submitted, the visitor is primed to checkout. We’ve limited this to at least once within 7 days to focus on your most active visitors.
AND Rule #2: Event “Checkout Contact Info Submitted” - Any Property - Has Not - within 7 days
While Rule #1 looks at people who did add their payment information, Rule #2 takes it one step further and excludes anyone who submitted information. You want to match the date parameters with Rule #1 (in this case, within 7 days).
AND Rule #3: Current Page - Any page
This rule would trigger the Chat Invite to people who started the checkout process but didn’t select a shipping method (Rules #1 and #2). The Chat Invite will show on any page that they then return to.
AND Rule #4 Time Delay - 20 seconds
Lastly, this rule puts a little space between the visitor landing on your website after leaving checkout and seeing the Chat Invite. This keeps the visitor from being bombarded upon their return. Chat Invites typically have a longer time delay than Surveys or Announcements.
Confused by what AND or OR means? Read more here.
Timing
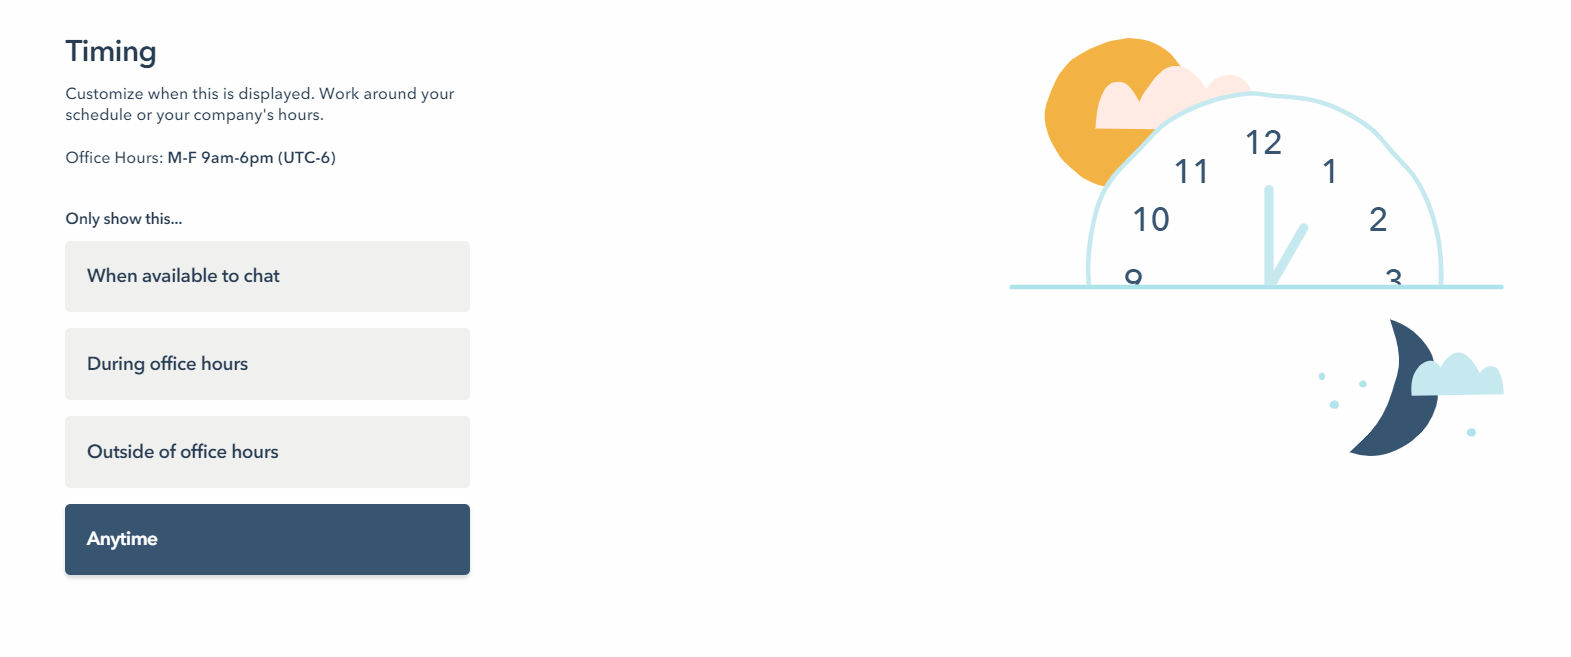
Timing refers to whether or not the Chat Invite will display. This is based on your Chat availability and not related to visitor traffic, though we recommend reviewing your Daily Chat Trends dashboard in your Dashboard to determine when you have your highest Chat interactions. You can use that to consider the best times for your team to be ready to accept and invite Chats.
Select from the following:
- When available to Chat: The Chat Invite will only deploy when a team member has toggled on “Available to Chat” through their profile in the upper right corner of the page.The Chat Invite won’t display if no one is available to Chat.
- During Office Hours: Set your office hours through Chat Settings, and the Chat Invite will only display during these hours. If you are unavailable to Chat, the Chat Invite will link to an Away Form instead. The Away Form is also managed through Chat Settings.
- Outside of Office Hours:Once you establish your team’s Office Hours, you can instead select to use the Chat invite when your team isn’t likely to be on. It will link to an Away Form if the visitor decides to click on it.
- Anytime: If selected, the Chat Invite will trigger regardless of your Office Hours or availability. If your team is available, a member of your team will be able to respond. If your team isn’t available, an away form will display.